Display to Organize: 10 Design Ideas (part one)
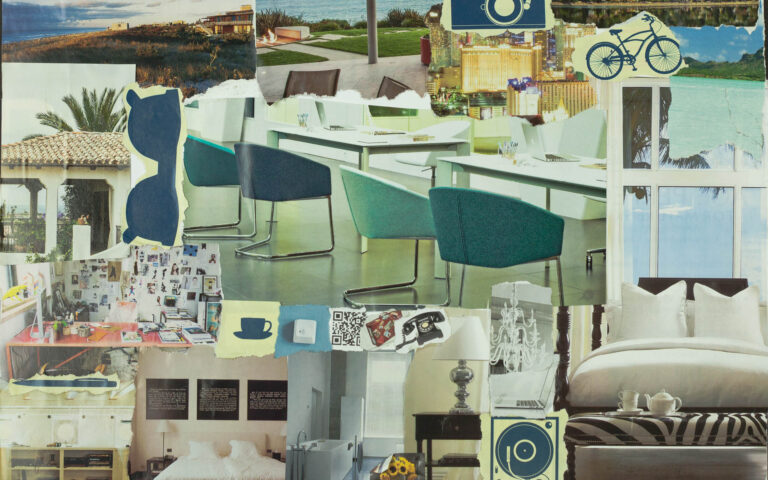
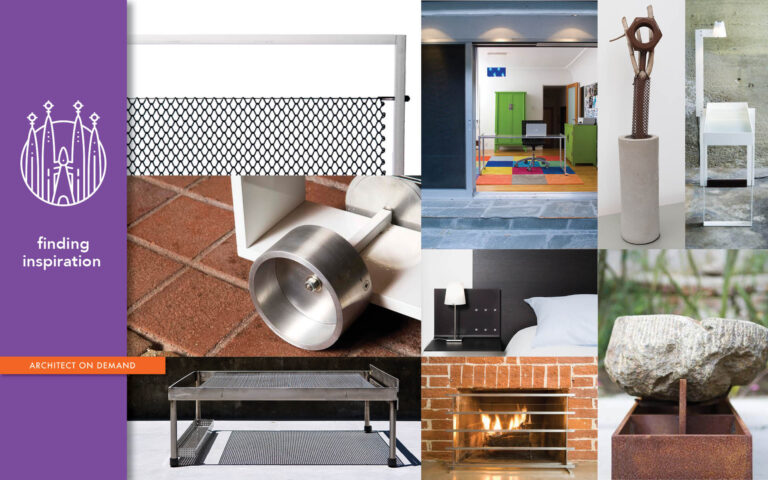
Hello!! Welcome to my blog. Very excited to start with a series of ten posts that will outline a few design ideas as presented in my downloadable ideaBOOKs. The 01. ideaBook is about spotlighting, curating, choreographing, and framing collections. We all have them. My goal was to share how I simultaneously organize and display (show off) my own prized possessions.
Firstly, let me give you some background. I spent first sixteen formative years of life in Leningrad (now St. Petersburg, Russia). My affinity for Russian culture is not intentional, rather ingrained. It sets the tone. Although I am a fully assimilated Los Angelina, you can still discern a nod to that Russian heritage in my collections of books, teapots, and wooden spoons.
So, growing up in the Soviet Union, I was painfully shy and quiet. But the need to communicate did not go away. I managed to express myself in an unusual way. By artfully arranging objects, near and dear to me. Was I aiming to gain control? Maybe it was an attempt to reveal who I was inside? Hmmm. It seems that acquiring a voice has been an overarching theme of my entire career. Interesting… Clearly, I have definitely come a long way — writing, providing design advice, consulting DIY enthusiasts online, teaching workshops.
Obviously, I thrive on encouraging creativity and self-reliance.
OK! Enough background. Let’s get to the point.
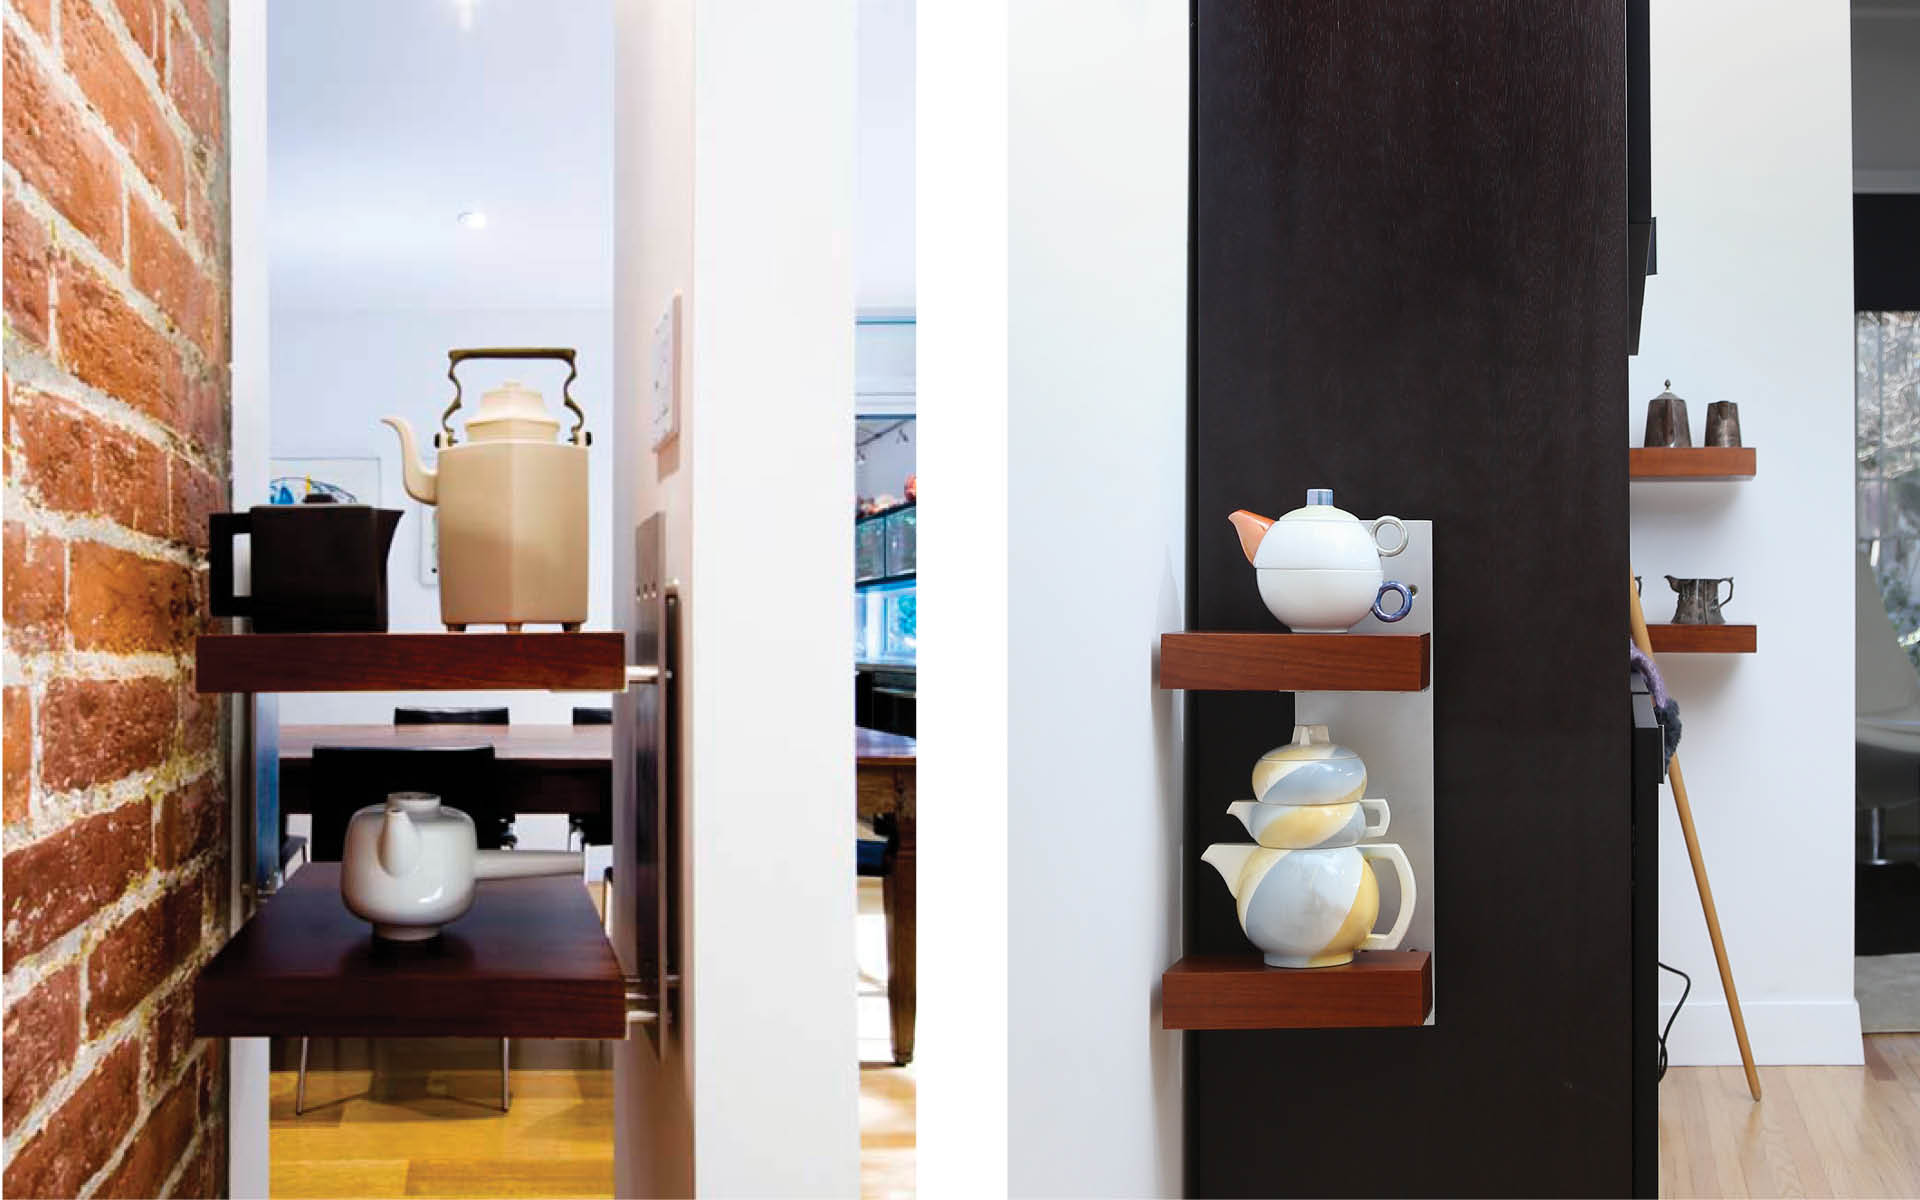
Design ideas file tip #1 / dining room:
REVEAL & LAYER
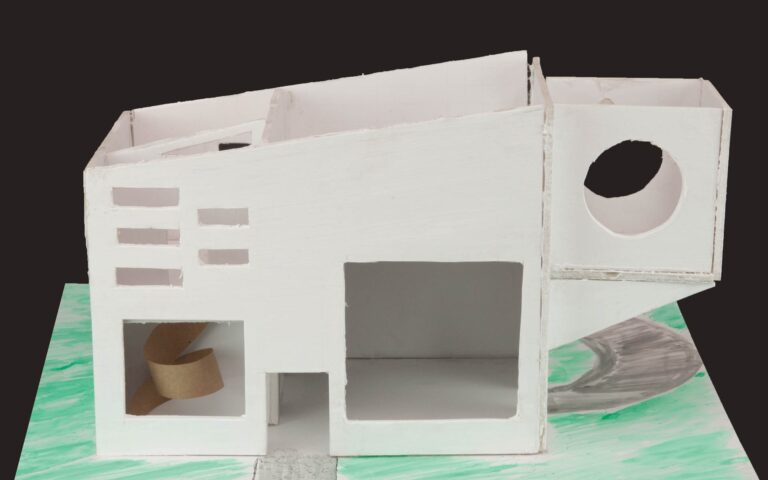
Problem: Impossible to hide new electrical conduits within the existing raw redbrick wall.
Solution: Conceal eloquently — create an additional layer.
Introduce a freestanding hollow partition to house everything required.
Added Benefit: “Wire management” wall reveals a provocative niche.
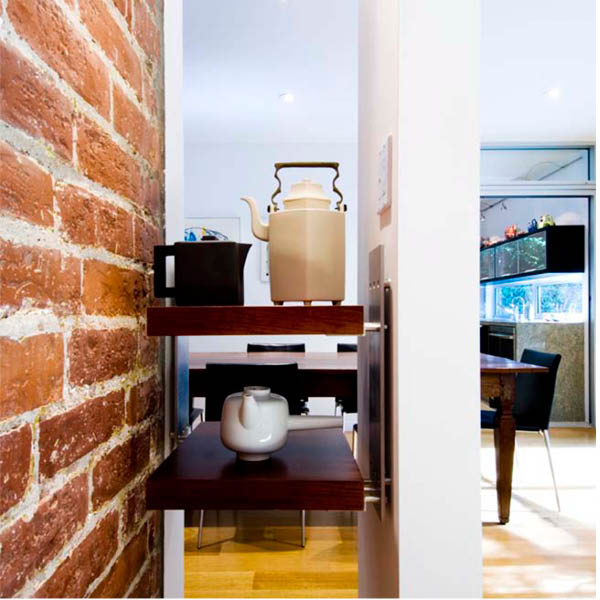
As you can see, I delight in designing ledges, display rails and stands to feature personal treasures. That’s my way of interpreting the expression “all at your fingertips” in a private language. Focusing on beauty while striving for efficiency.
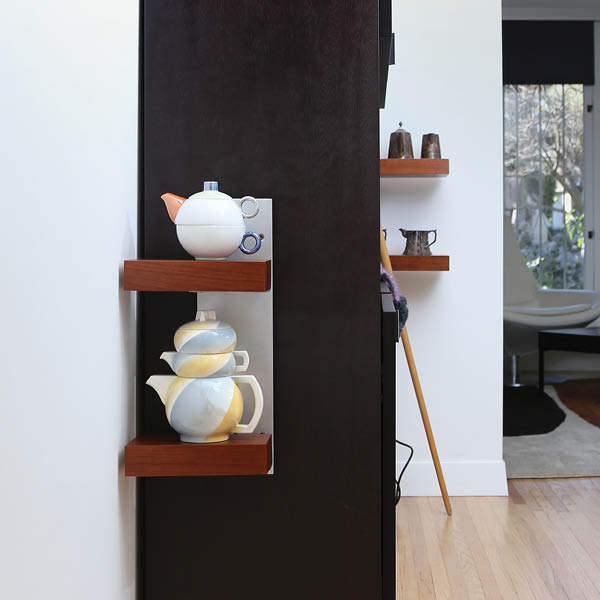
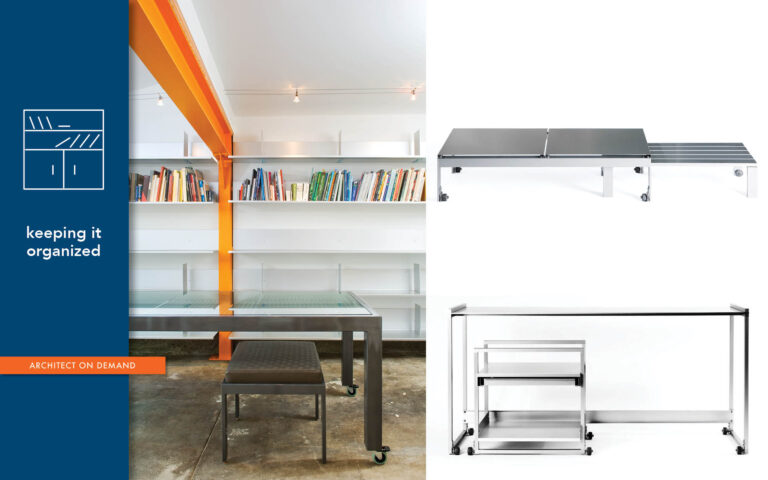
Design ideas file tip #1a / living room:
CONSOLIDATE & reinforce
Problem: Relocating 10 years later.
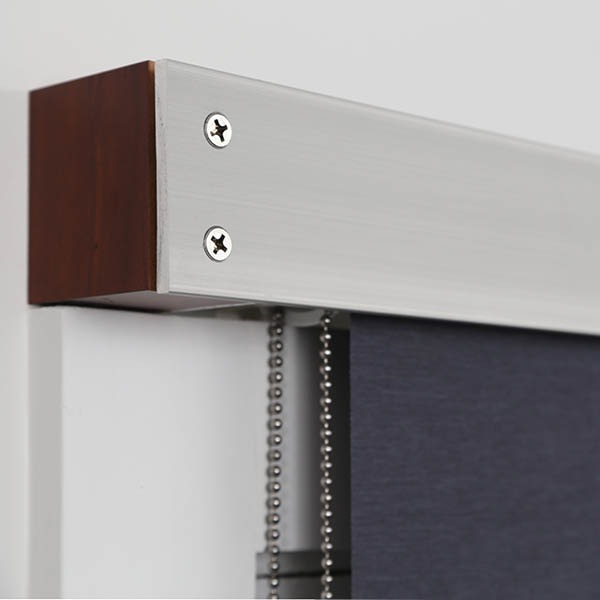
Solution: Downsize intelligently — crop the shelves to cantilever from one bracket.
Added Benefit: Enough wood left over to use on a custom valance; virtually zero waste.
As mentioned above, this post and nine to follow are based on the ideaBOOK 01 Displaying & Organizing. It is available to download here.
Finally, if you have any questions, please address them to me in your comments below. I am at your service as an online architectural consultant and DIY ally.