My Creative Process: IKEA Kitchen That Looks Custom-Built
I’m on a mission to help a friend and do it as efficiently as possible. It’s a personal quest. How quickly can I plan an IKEA kitchen that looks custom-built? Since this blog has become something of a journal, I’ll record the stages of the creative process as it unfolds.
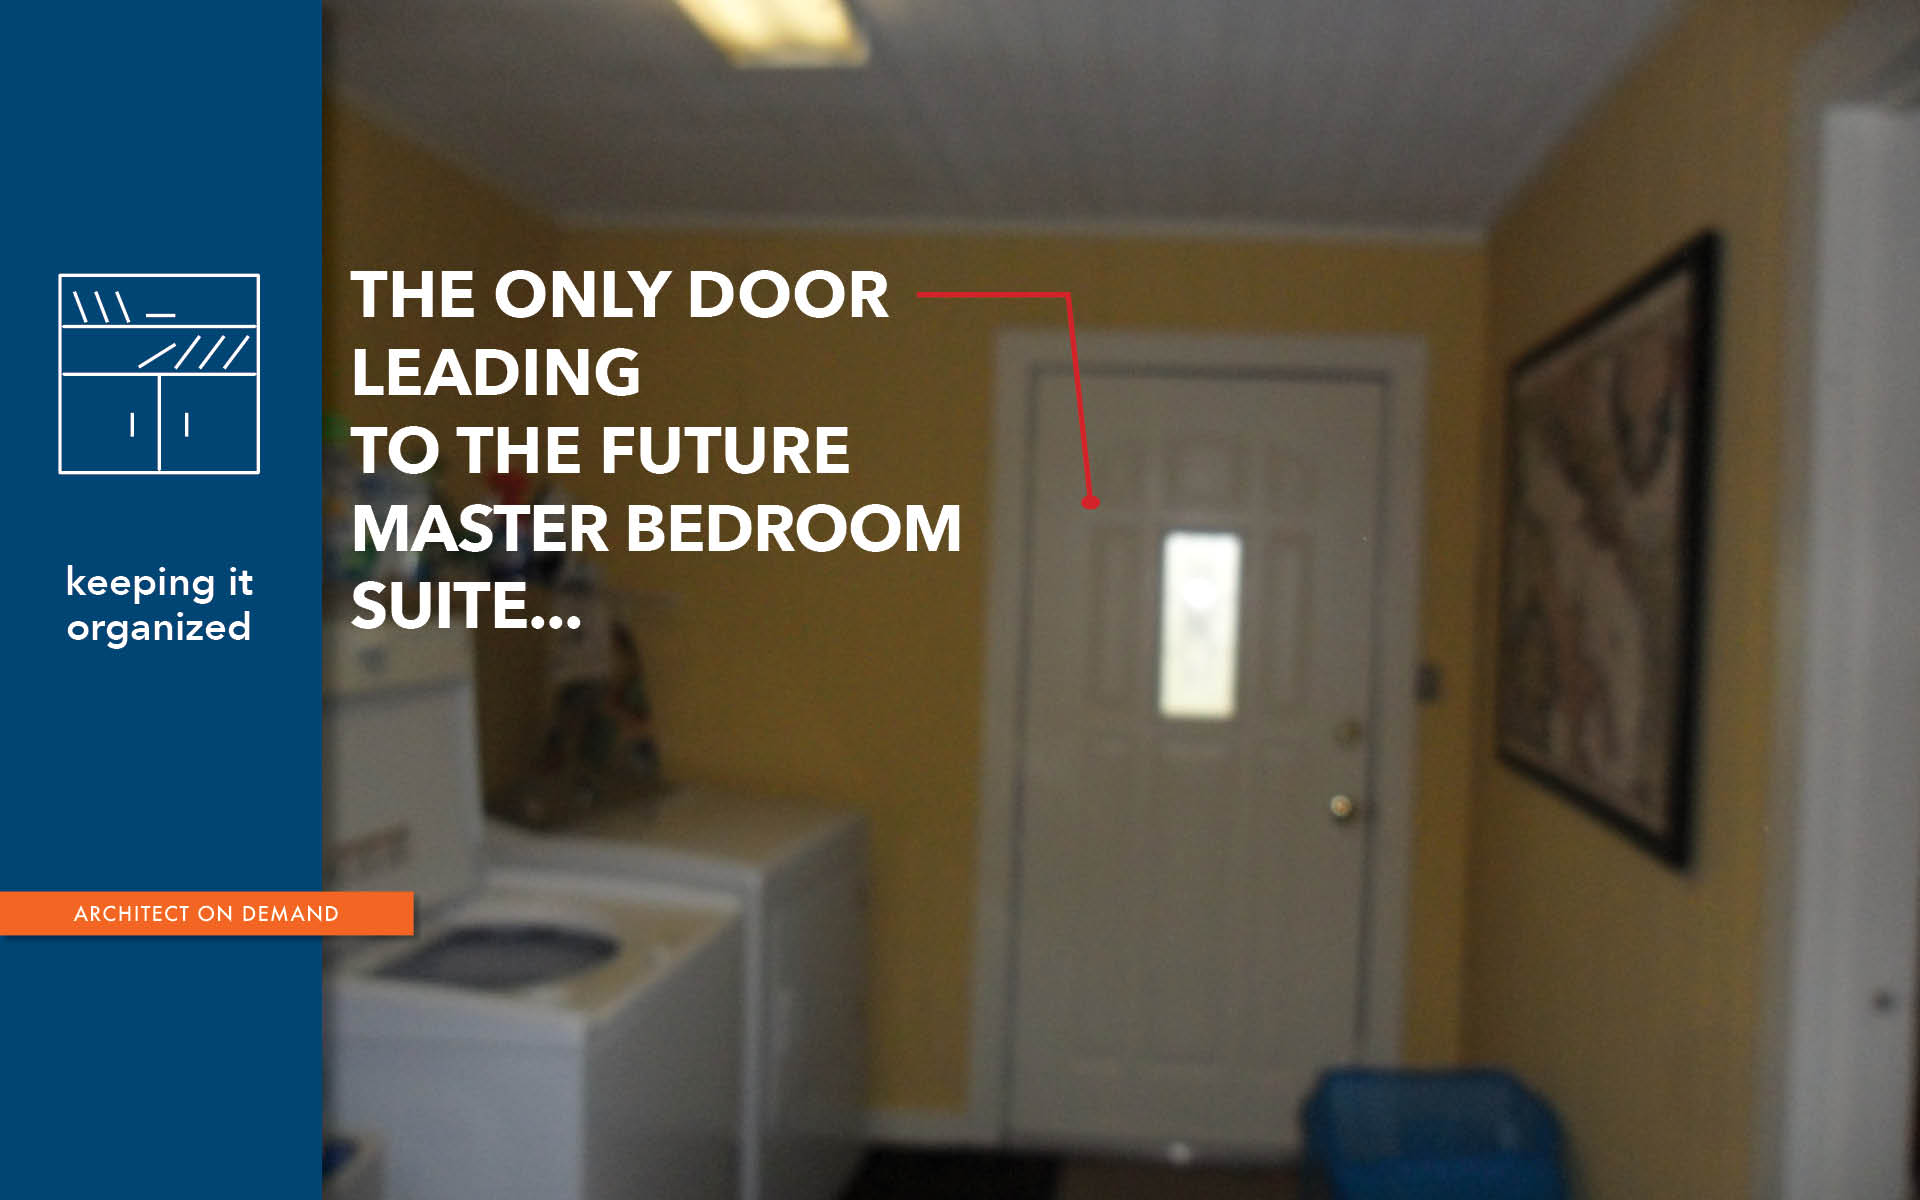
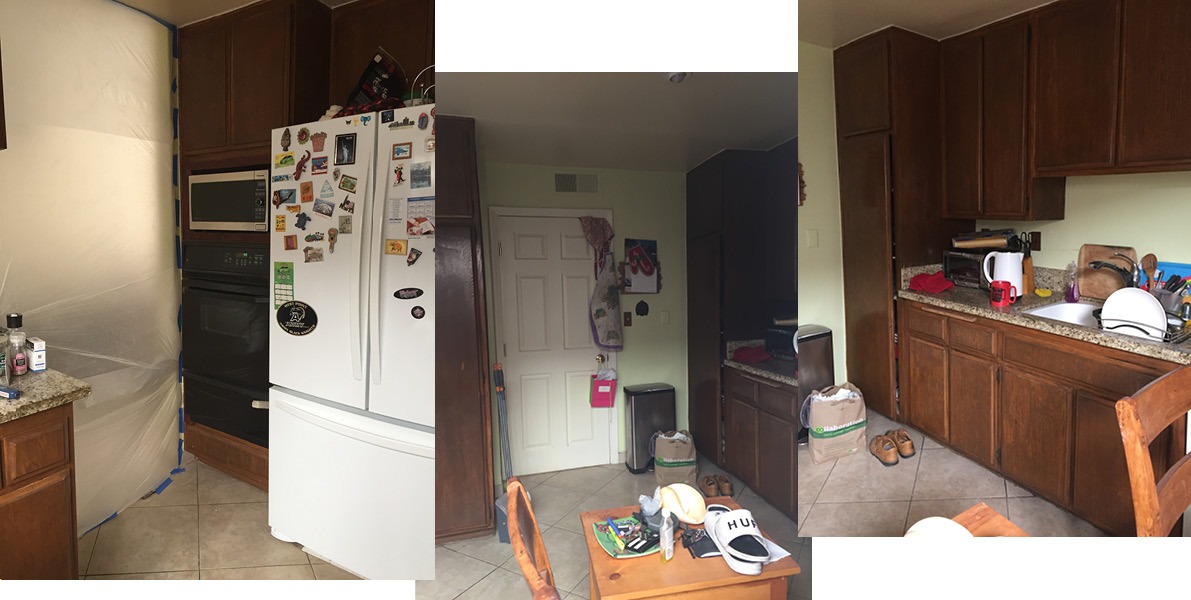
First, I survey and measure the existing kitchen. To save on plumbing costs, the intent is to keep all of the appliances in the same locations. Assessing the workflow, it becomes painfully obvious that the space is the opposite of user-friendly.
The creative process of designing a kitchen begins with putting myself in the role of the cook.
The cabinets are not functional. There’s not enough counter space. The placement of the cooktop and stove is awkward. The refrigerator is too bulky; it’s in the way.

The kitchen has an outdoor patio, a wonderful feature. However, the sliding door is partially blocked by their breakfast table. Besides, the patio is crowded with oversized furniture, which adds to the clutter of the kitchen… Well, there’s potential. My goal is to transform it. And it needs to be done on a very tight budget.
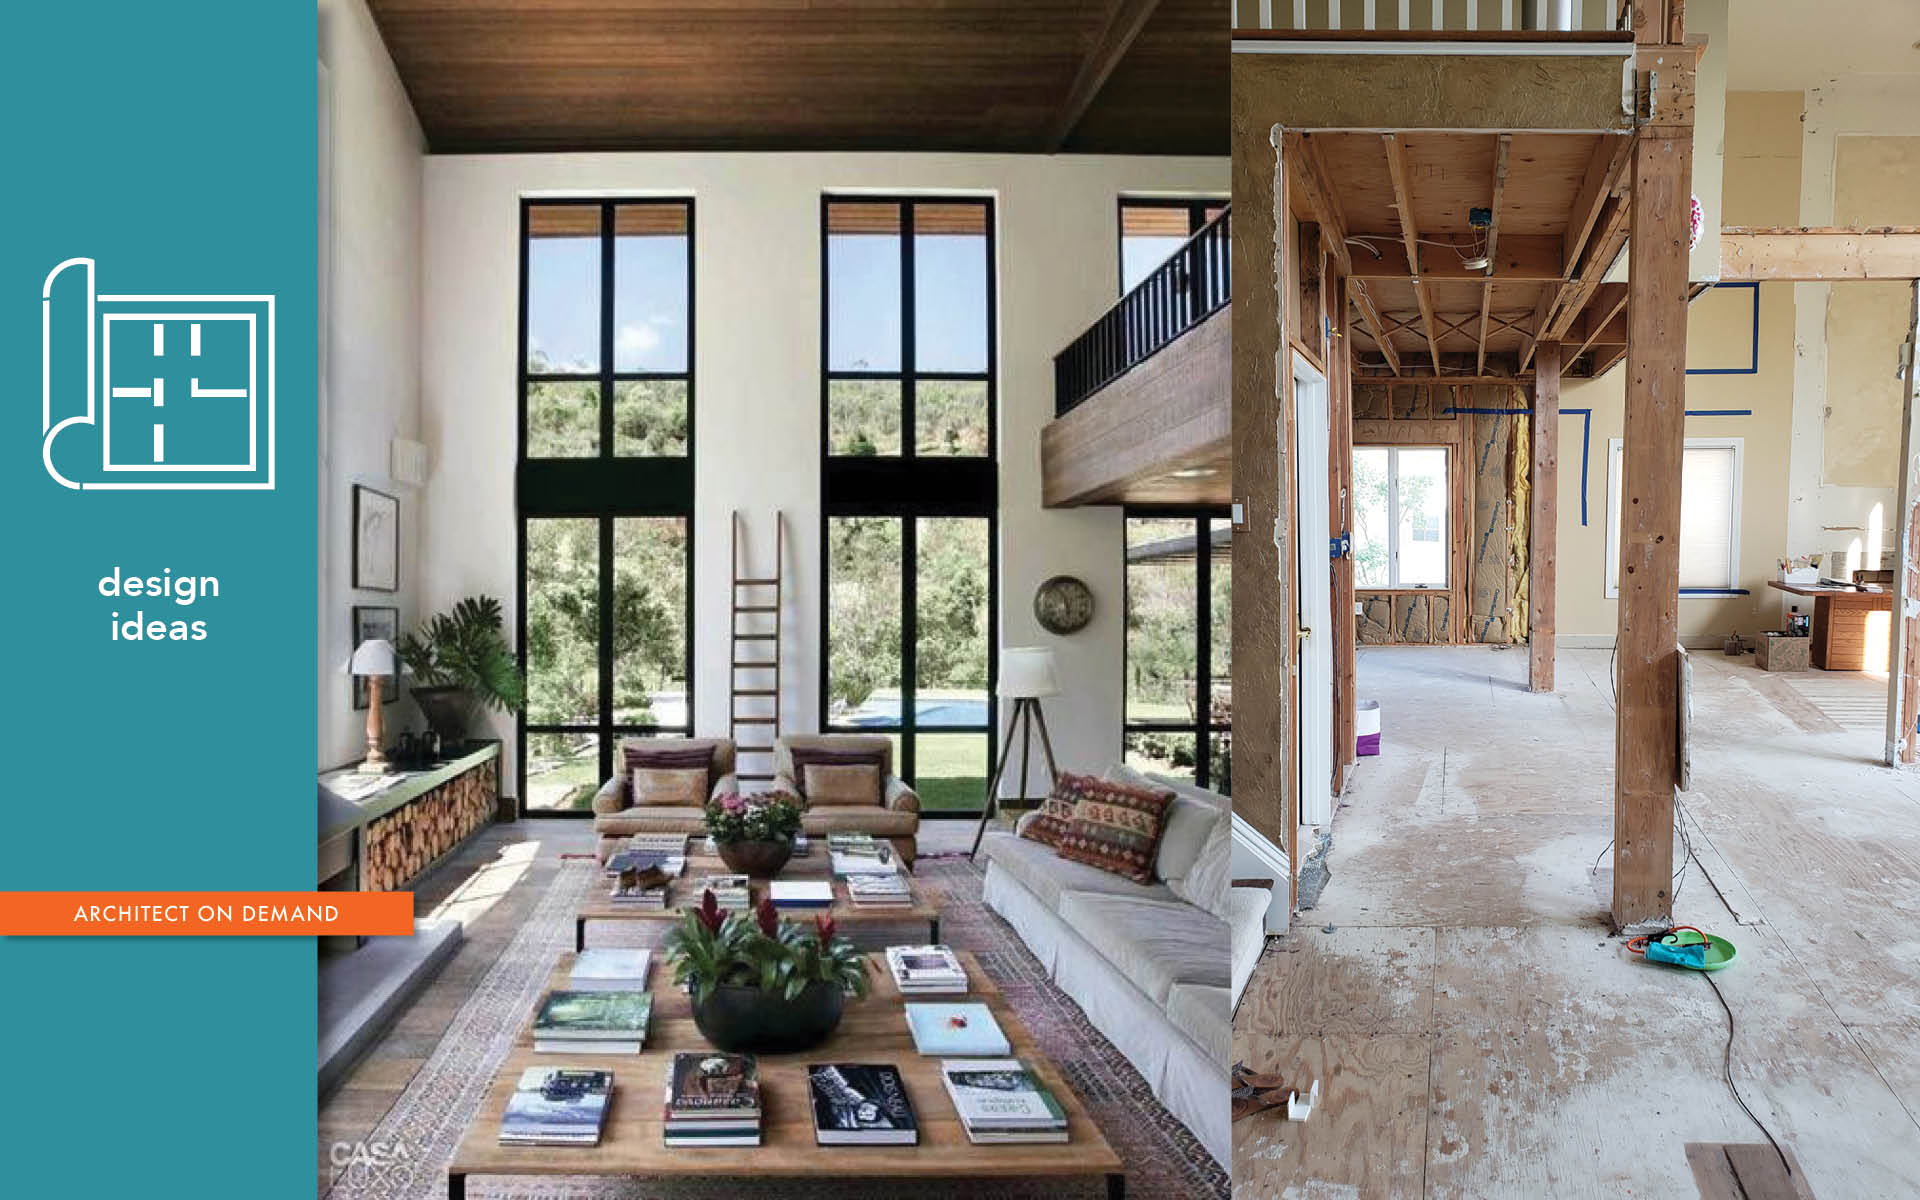
Ideas are percolating. Pieces fall into place as soon as I get to my drafting software. Without knowing what it will look like, I concentrate on keeping it modular and streamlined. The key is to create a rhythm through repetition.
At this point, I am convinced that two out of three appliances should be rearranged for efficiency. The sink/dishwasher duo can stay in the same vicinity, but we should utilize models that are more compact. 18” dishwasher, for instance, will be sufficient.
With a rough layout ready, I can focus on details. Next step is to choose a cabinet front style in the IKEA assortment.
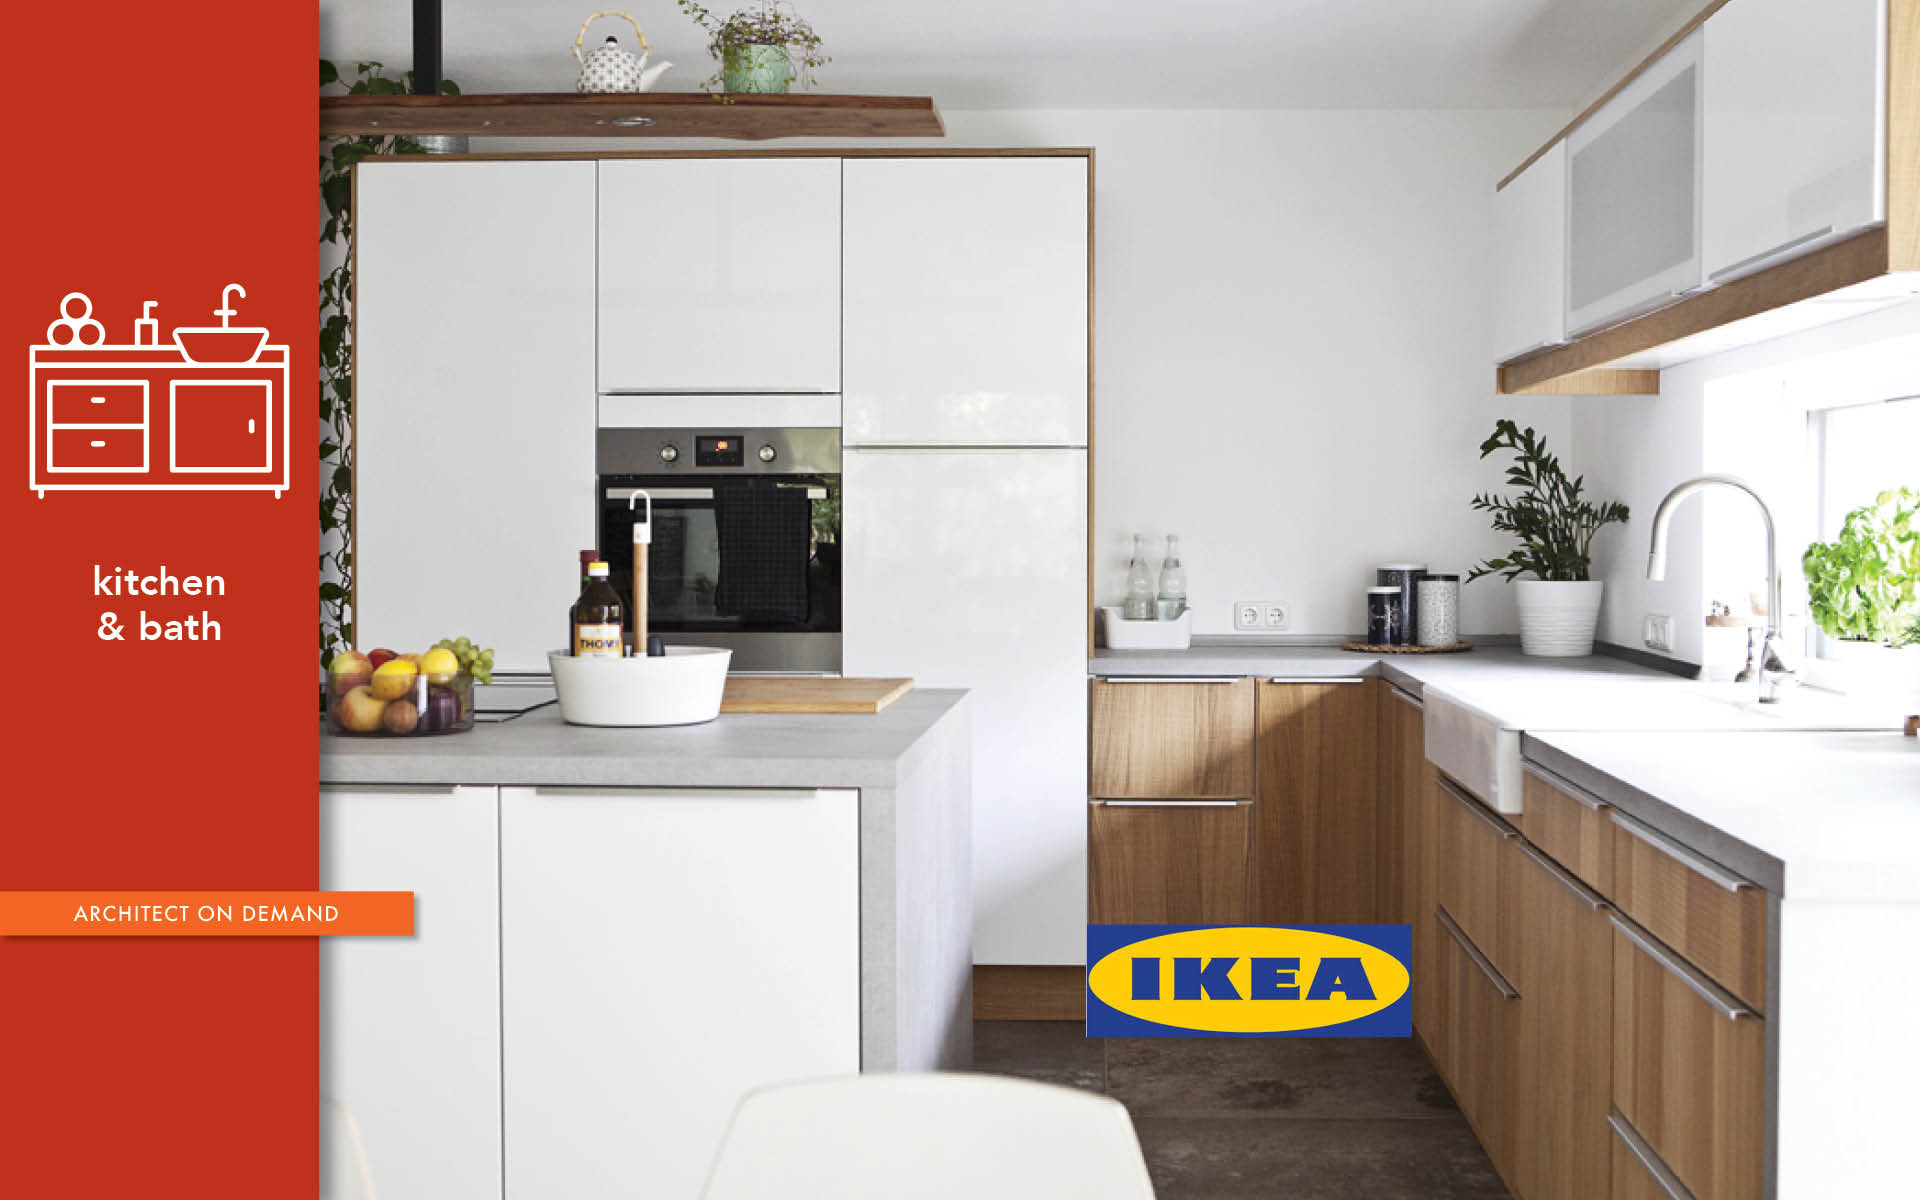
Hence, I race to the nearest IKEA store and make my way through the maze. Finally, I am in the kitchen department. Perusing assembled kitchen vignettes, I spot a very attractive door & drawer design with an integrated handle. It has a feel of a high-end custom-built cabinet. It’s called VOXTORP; I especially like it in matte white. That would be perfect!
Now, it’s a matter of fusing my custom-built design aesthetic with what’s available off-the- shelf.
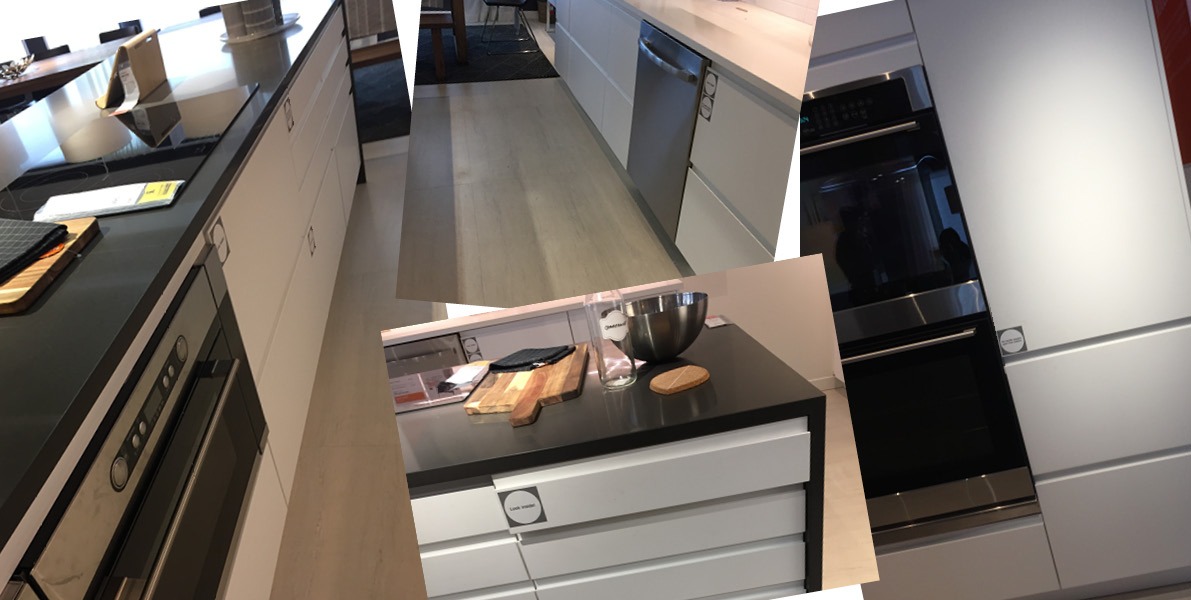
There are brochures and instructional displays. Just to double-check how everything works and what my limitations are, I request a one-on-one with an IKEA kitchen associate. Our brief meeting is reassuring. As presumed, wall cabinets can be hung horizontally.
I report on the progress — my friend is very happy with the update. Oh, by the way, there were a few very attractive quarts countertop options at IKEA as well. So far, I’ve chosen the style of the cabinet fronts, and have a sense of the overall feel for the new kitchen. Next step is to finalize the list of appliances. My suggestion is to go with all stainless:
- Refrigerator 30” W x 84” H
- Sink 30” cabinet
- Dishwasher 18”
- Range 30”
- Hood to work with a 30” range
Where am I on time? About nine hours into it. What’s left is to draw the proposed kitchen in plan and elevation.
Every base cabinet with its particular drawer configuration and upper cabinet with corresponding glass door has to be picked from the IKEA catalog.
See the list below. The numbers on the list correlate with the numbers on the proposed elevations.
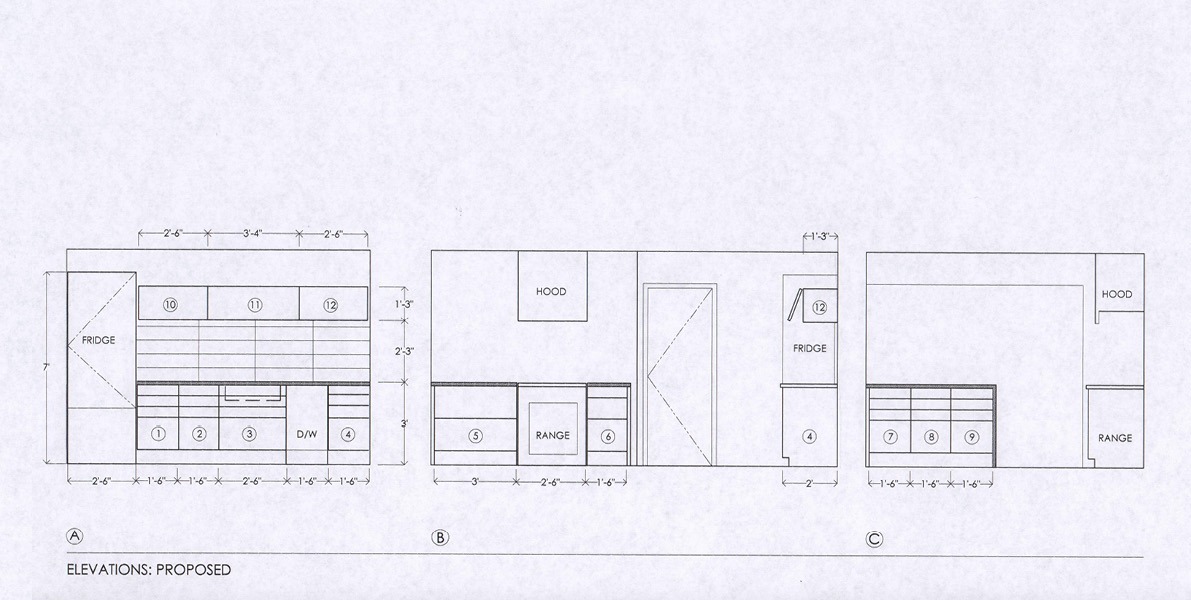
CABINETS / IKEA VOXTORP WHITE
BASE CABINETS/FRONTS:
#1 B4E W18
#2 B4E W18
#3 SBP4F W30
#4 B4E W18
#5 B21I W36
#6 B3E W18
#7 B4E W18
#8 B4E W18
#9 B4E W18
UPPER CABINETS/FRONTS (hung horizontally on the sink wall):
#10 W1G W15 WITH GLASS DOOR (30” H)
#11 W1D W15 WITH GLASS DOOR (40” H)
#12 W1G W15 WITH GLASS DOOR (30” H)
Almost done. Lastly, I meet with my friend to go over the design of her custom-made off-the-shelf kitchen. Here’s the menu of improvements:
- Relocate the cooktop/combine with oven;
- Relocate refrigerator/make sure to get the one with left hinge;
- Eliminate tall cabinets throughout/maximize counter space;
- Reconfigure upper cabinets over the sink for convenience;
- Eliminate kitchen breakfast table/utilize new peninsula;
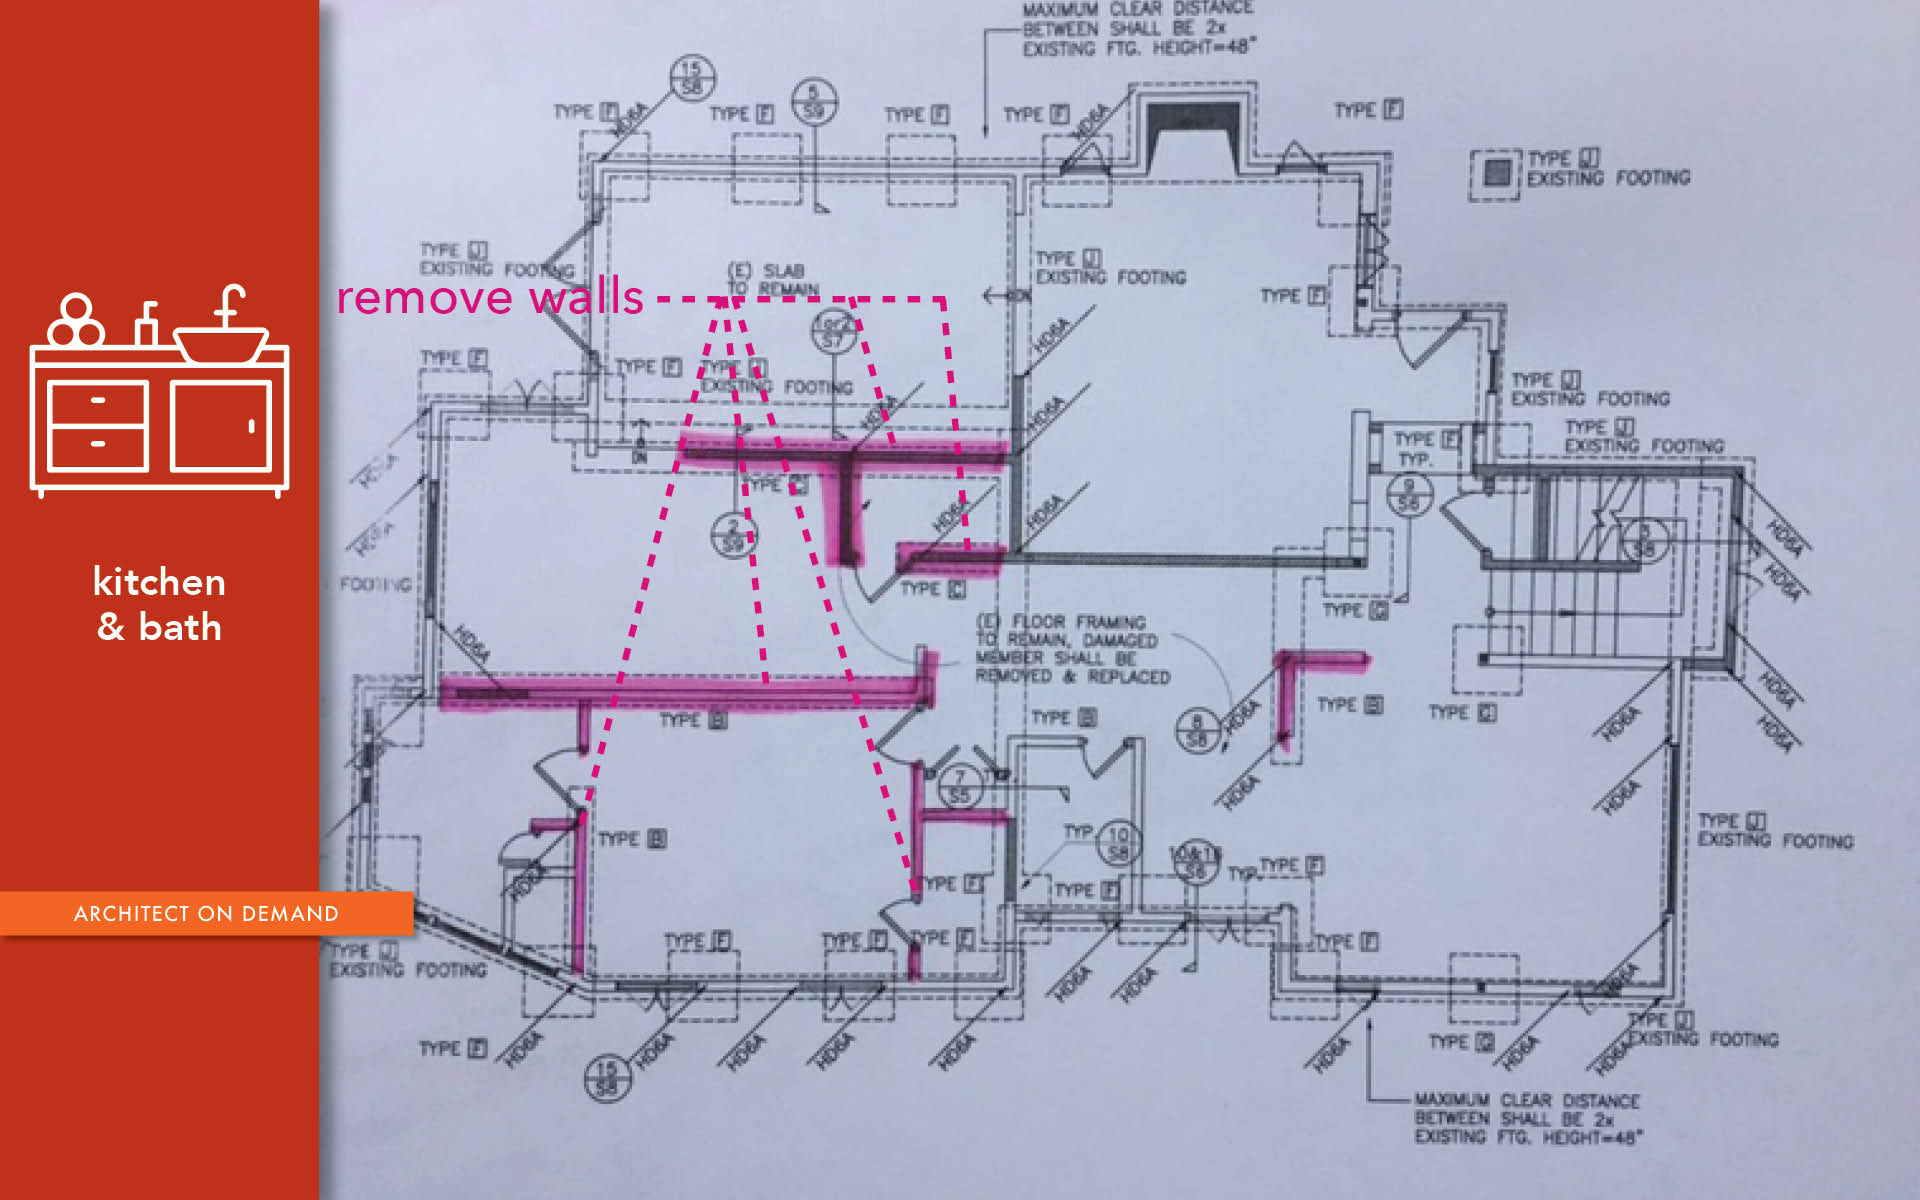
- Demolish a bit of an unnecessary wall that is in the way.
There it is: my creative process at a glance. We haven’t picked out a faucet or decorative tile for the backsplash. Still need to choose the flooring material and plan the patio. But we’re close; just 15 hours of work and my friend will end-up with a store-bought kitchen that looks and feels custom-built. On top of it, she can join IKEA Family to save even more.