How Do You Start a Design Project? 11-Step Method!
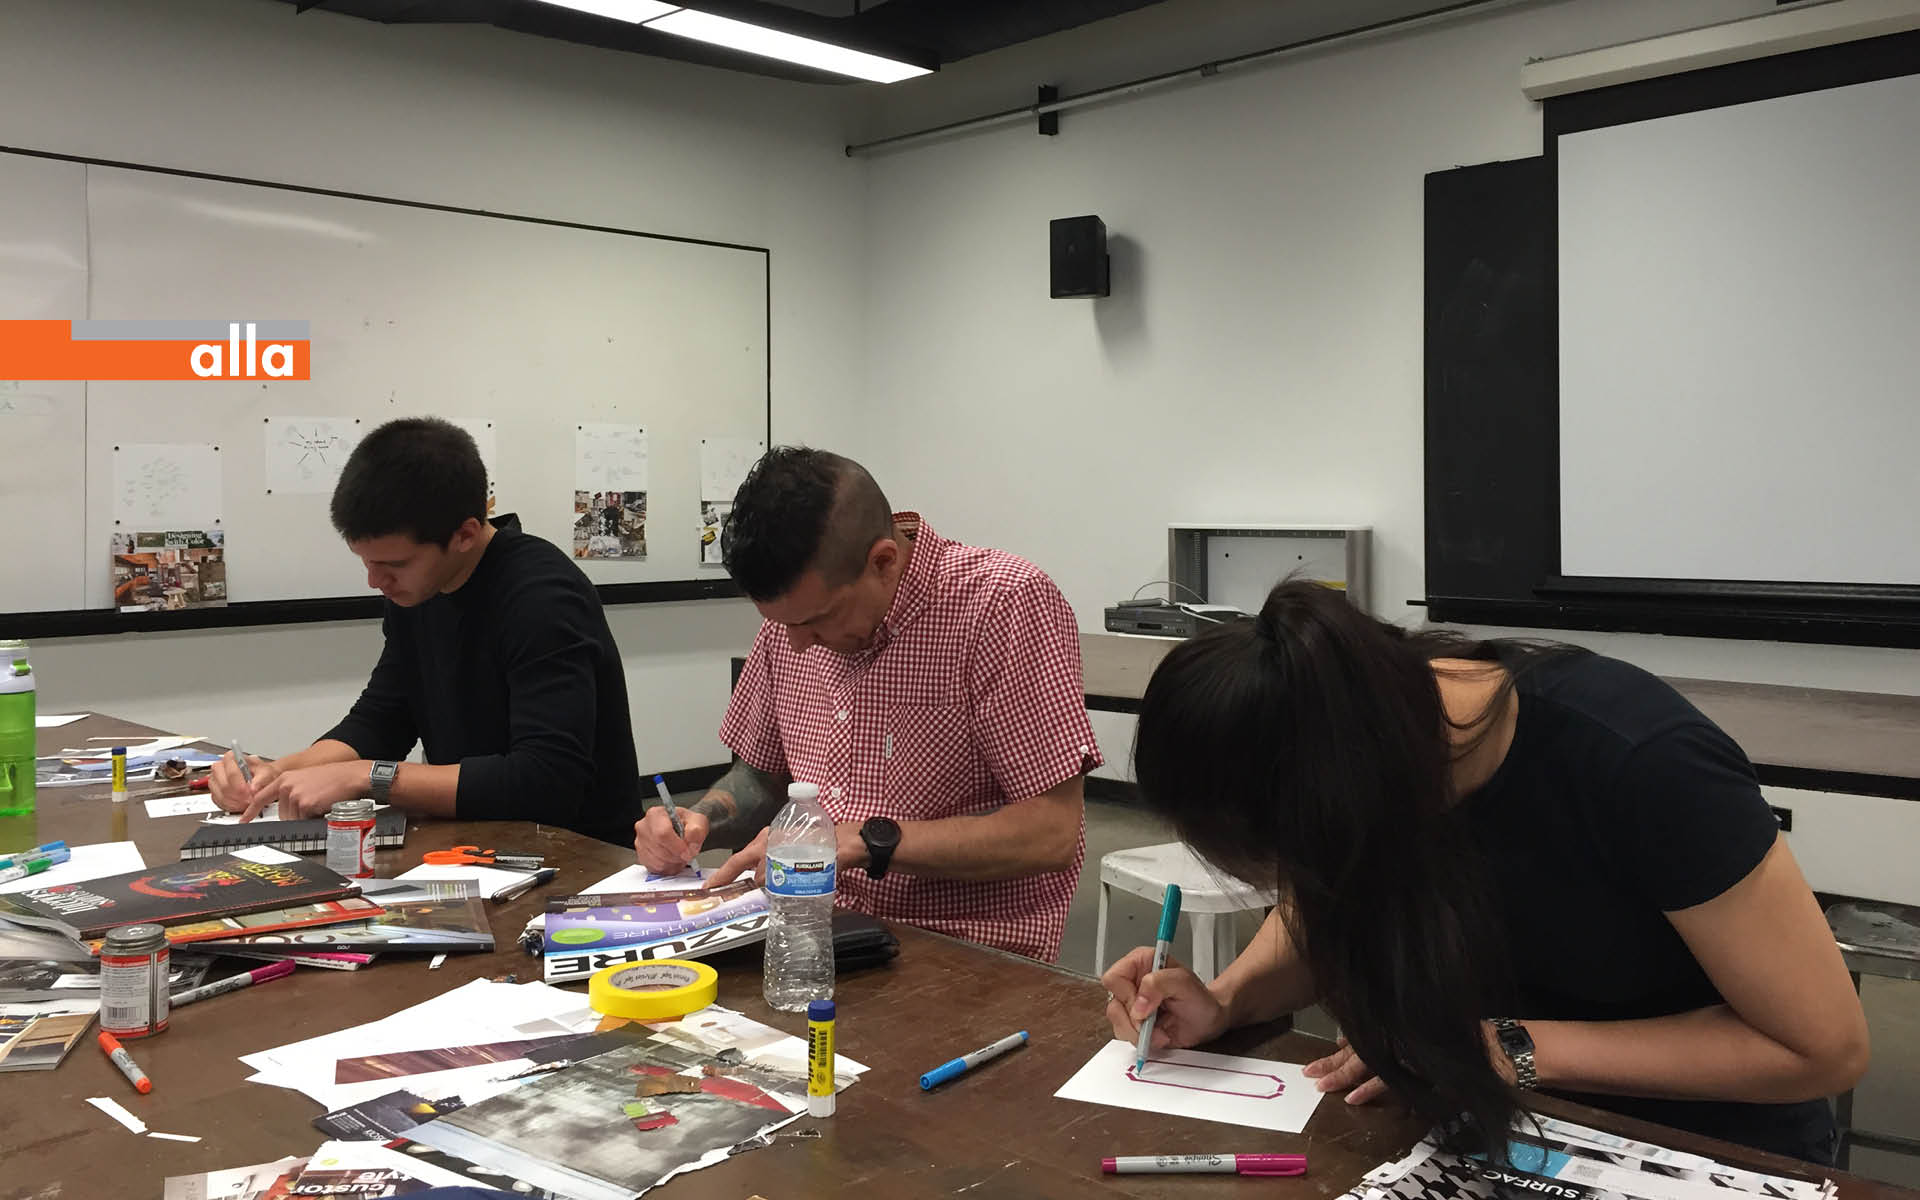
The first day of my DYI Like an Architect workshop at Art Center College of Design went really well! We tackled how do you start a design project question by learning DIY Ally’s 11-step method.
The process is quite simple and easy to follow. 11-step method is fun! Each step leads to a mini-revelation. Each step helps you uncover your true intentions and preferences.
11-step method really works; it’s been proven time and time again. Last Sunday’s workshop was no exception. We were a diverse group, yet everyone shared a desire for creative exploration. We all wanted to learn something new. Right after brief introductions, we dove in.
How do you start a design project? Brainstorm!
Step 01: Mind Map
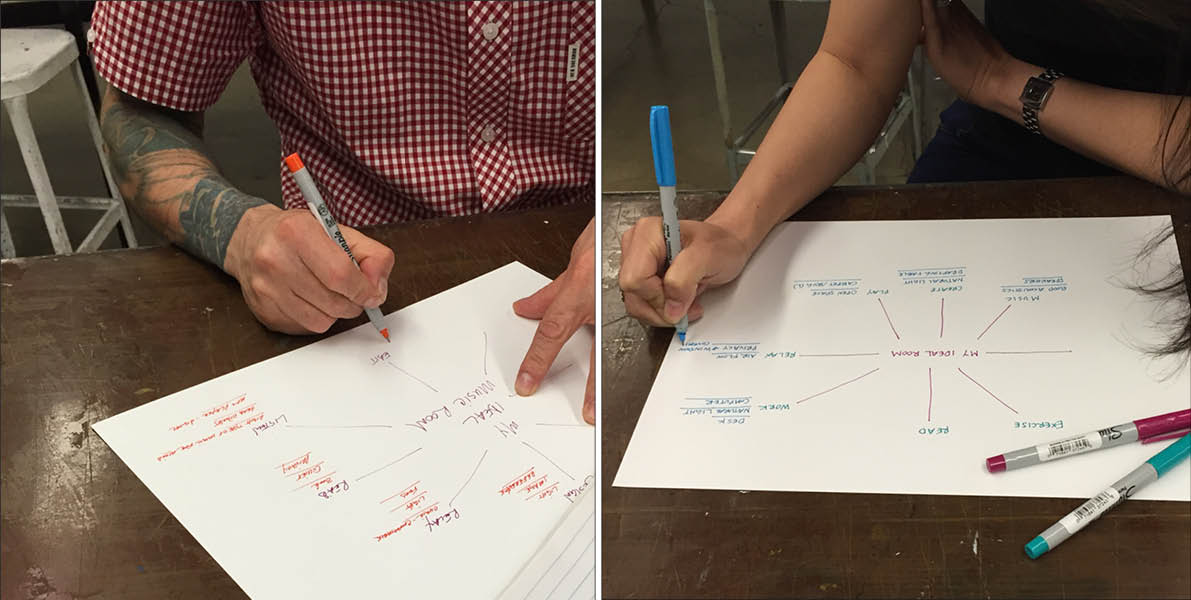
Mind Mapping lets you assemble your wish list. The process was described by Michael Gelb in his book How to Think Like Leonardo Da Vinci.
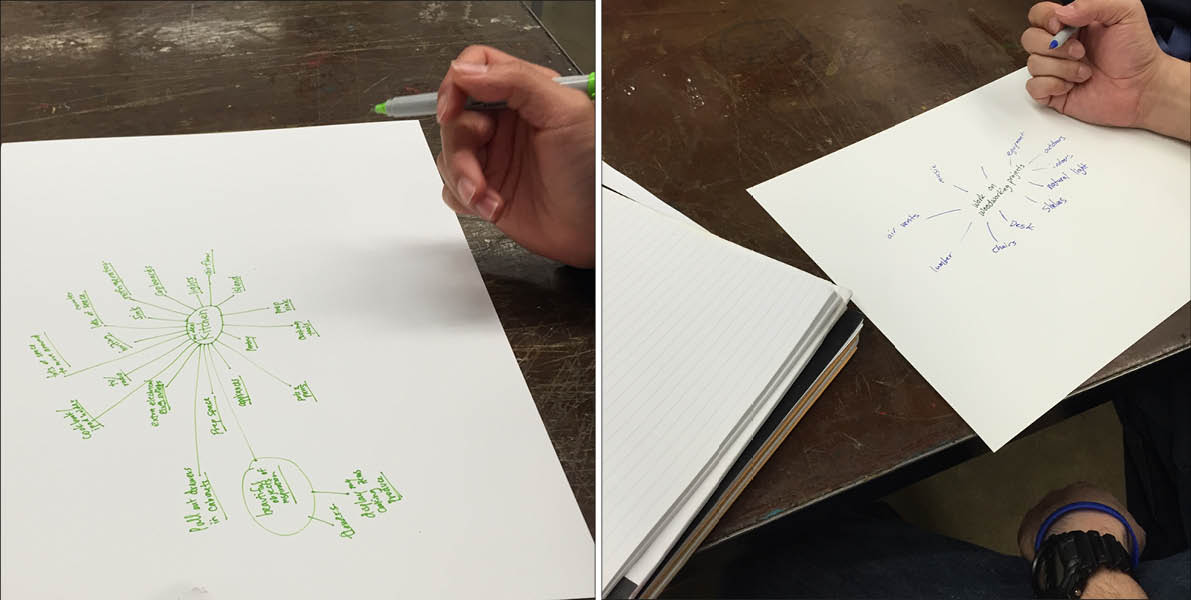
Mind Mapping is a tool used for brainstorming or generating ideas to record your thought process in a form of a web expanding in all directions. The trick is to activate 360-degree associations without being concerned with implicit prioritization, direction or particular order.
Step 02: Collage
Second step helps you notice how you respond to various images. How do you start a design project? You acknowledge what your ideal world consists of. It’s eye-opening!
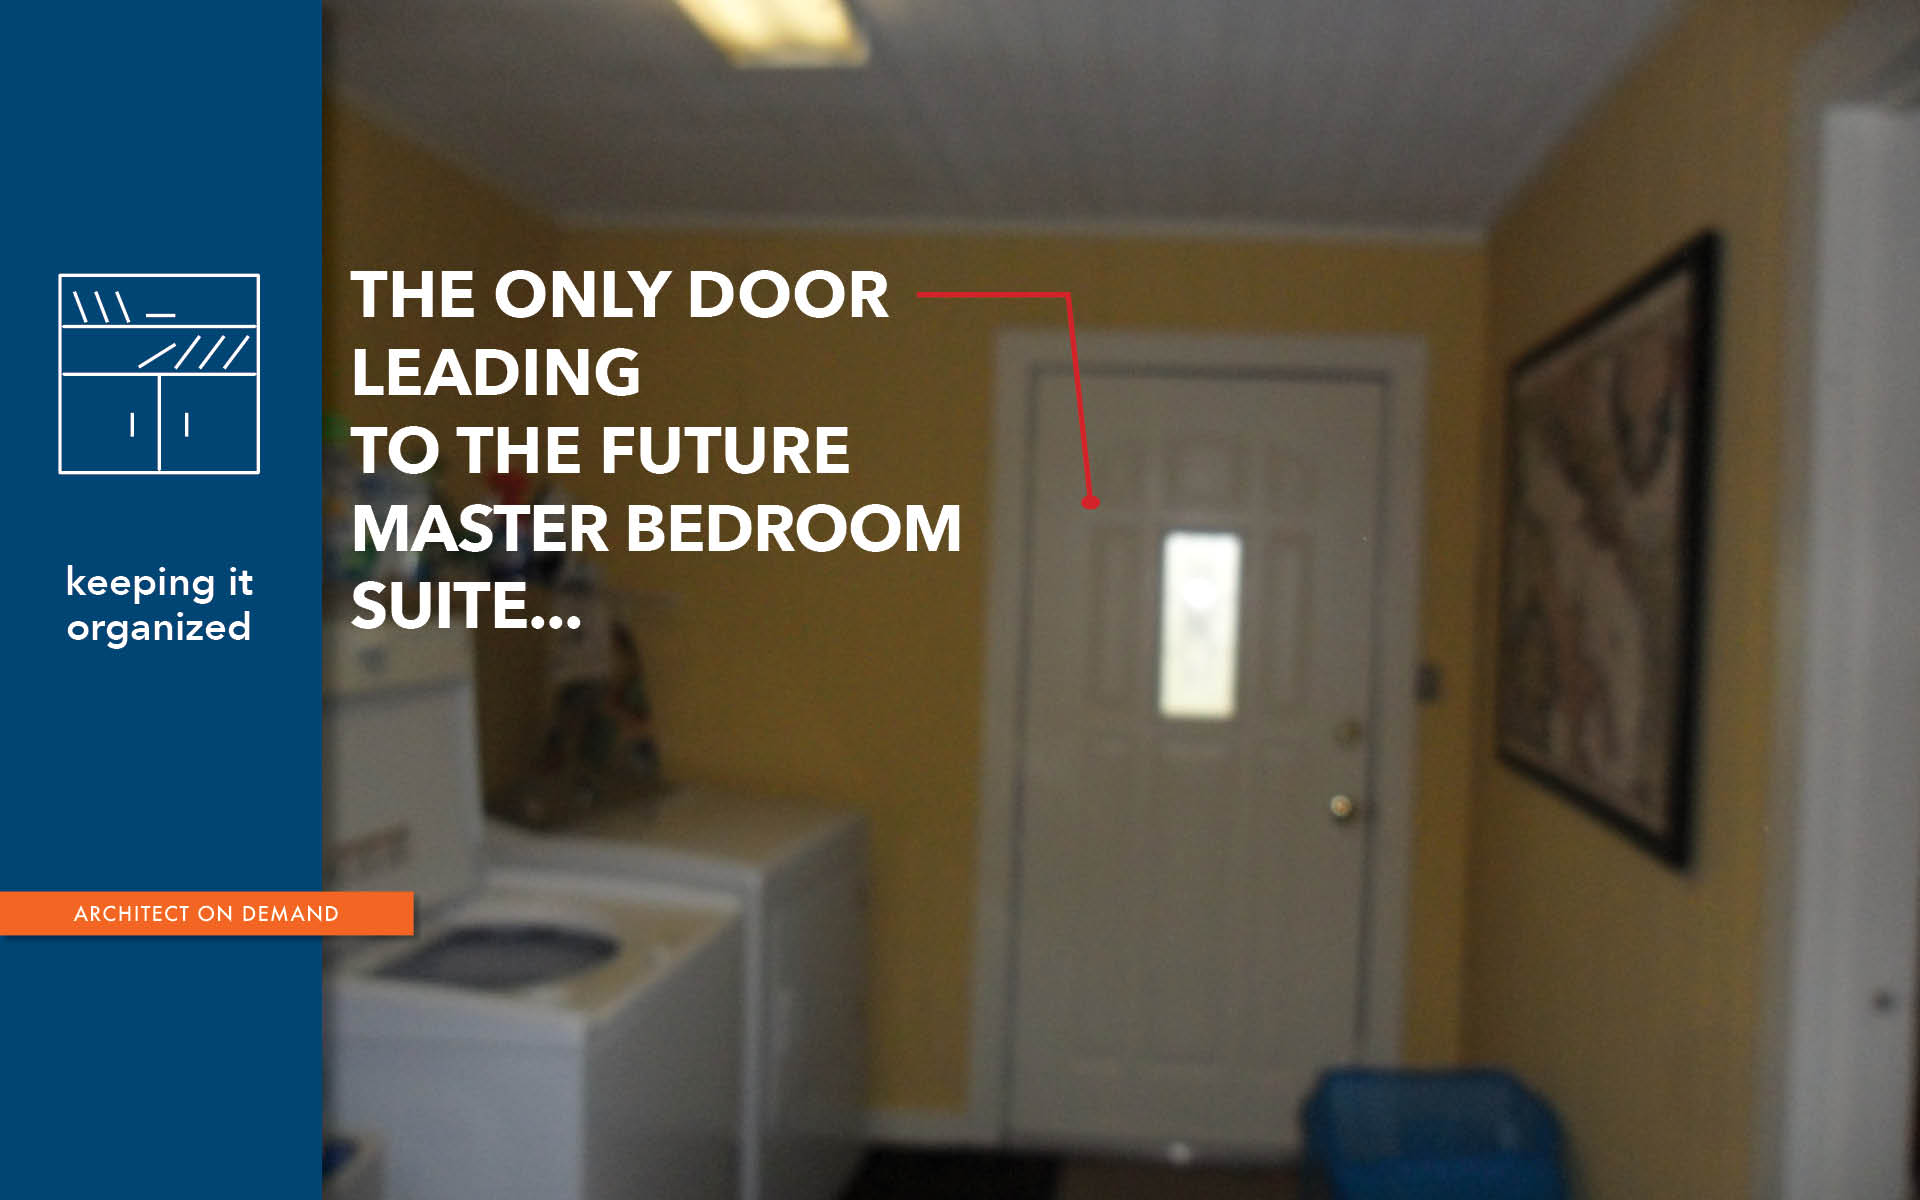
As you are thumbing through magazine pages, pay attention to what you are drawn to. Start by finding an image that represents you, not a photograph of you, but a symbol that you can be associated with. It can be an open door or a bright-eyed kid’s face covered in paint. It goes in the center.
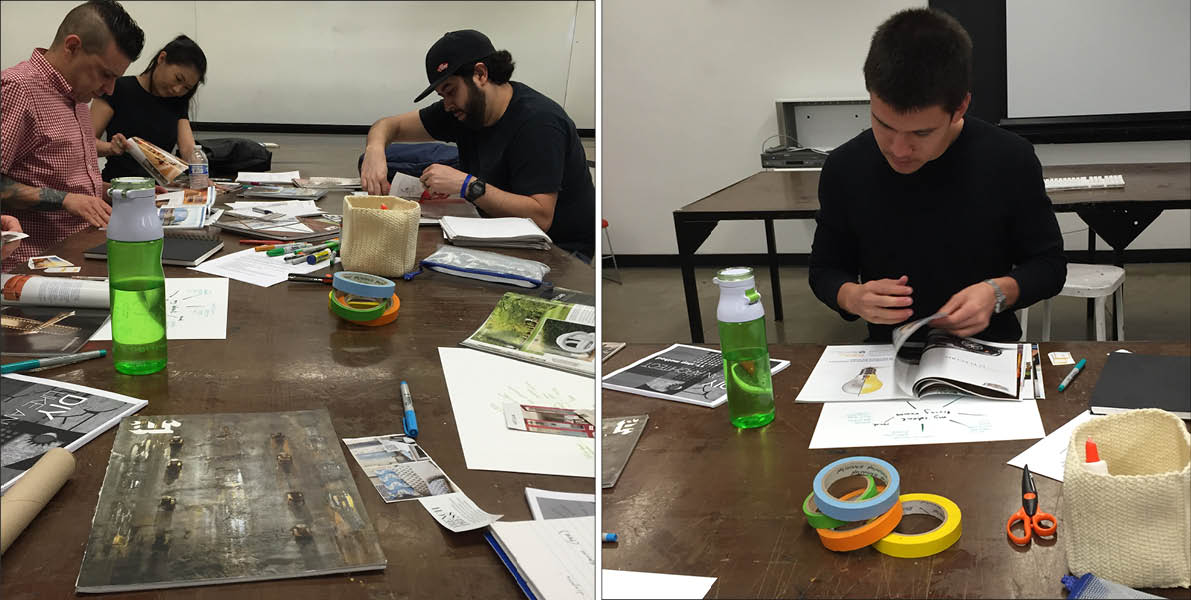
It’s all about your preferences in color, texture, and materials. Find images of what you would love to be surrounded with. Once something grabs your fancy — rip it out!
Do not ignore headlines. If it resonates with you — incorporate it! However, you are not allowed to write anything by hand. Compose what you have amassed on a board around the image that embodies you. Glue or tape everything down.
Once you’re done with the first two steps of the 11-step method, put all of the work up to share
It’s critical to talk about what you’ve found out so far. It helps to move toward the following step. How do you start a design project? Embrace at least 3 things you’ve discovered doing your mind map and collage.
Step 03: Parti
Parti stands for “big idea.” Determining what it is ahead of everything else helps you give your project a narrative, purpose and meaning. Settling on a parti — your guidepost — allows you to understand a problem prior to solving it, to make bold and all-encompassing choices without focusing on any particulars.
This step helps you devise a frame of reference in advance
What surprised you the most? Anything you never thought of before? Going from your mind map to the collage, did you notice a theme emerging? What was it? If you were to think of a single word to describe your ideal space, what would it be? Give it some thought.
Is there anything that stands out for you? Attempt to simplify, boil down your elaborate story to a single word. Make a leap of faith and assume that this word is your one big bold idea or parti — a way to render a solution before solving a problem. What is it?
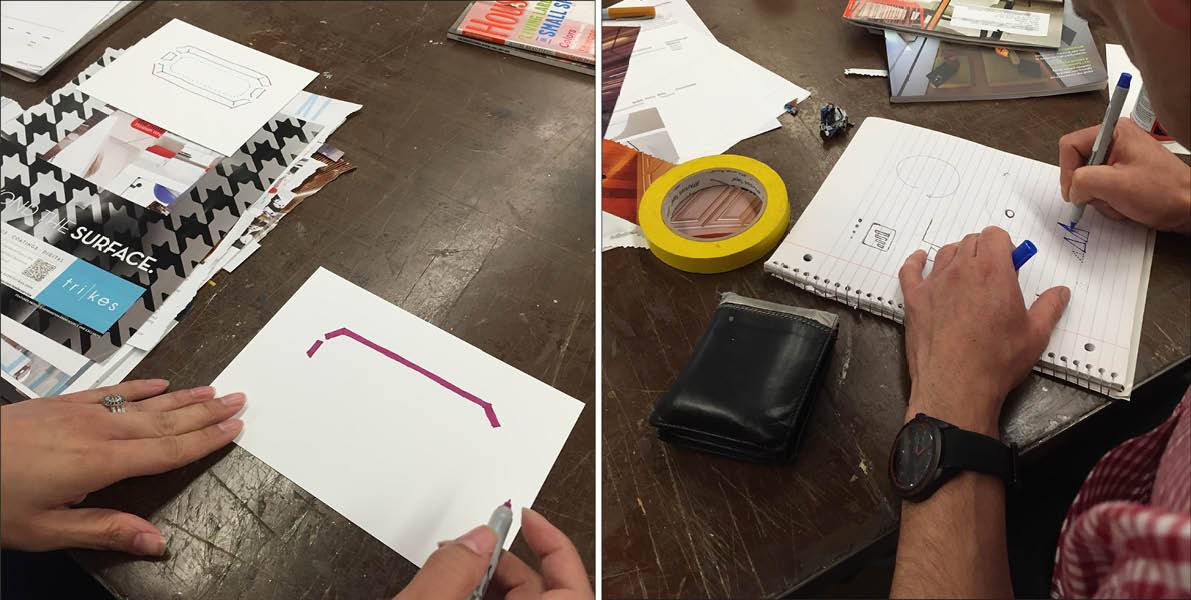
Step 04: Parti Diagram
Parti Diagram is your parti expressed graphically with a basic pictogram. It is the most primitive and legible way of communicating the essence of your project. It needs to be clear at a glance, with no explanation necessary.
The word that you conjured up is your first glimpse into what is about to unfold. It is really important to understand it thoroughly and completely. In order to do that — draw it! Draw it in such a way that it is absolutely clear — there shouldn’t be anything ambiguous about it. Ideally, if you were to show it to a child or a random person on the street, they would be able to know what it is without a word of explanation.
Start sketching. Let’s say your parti is ORGANIC. How do you communicate that with basic graphic elements? What about WARMTH? FULFILLED? EVOLUTION? Fourth step helps you focus purely on the main bold idea by representing it visually. It allows you to challenge your habitual thinking — you are looking at something through a new lens.
It’s the time to thoroughly understand what you are trying to do and to begin owning your parti. Make it as graphic (clearly visible from far away) as possible. It will take some effort, but you can do it. Draw your final version on a 6” x 6” card.
Step 05: 3D Parti Diagram
3-D Parti Diagram is your parti expressed volumetrically with a loose massing model of the concept. You are still refraining from designing at this stage. It is still very open-ended and free-flowing — diagrammatic. The trick is to fully explore the meaning of your parti.
We have to stop at this step. Three hours are up! There is just enough time left to go through available building materials — recycled stuff — scraps of wood, cardboard, and plastic. The answer to how do you start a design project question has been revealed.